1. iMovie
Tips on how to use Mac's iMovie to produce livecoding screencasts.
1.1 Editing a screencast on a mac using iMovie
Often the audio I get from a screencast recording is rather weak.
There's an easy way to fix that by using iMovie, which normally comes with any Mac. Here are the steps:
- Open the livecoding video in iMovie
- Detach Audio (right-click on movie bar to see the options menu)
- Adjust the volume in the audio track editor, by dragging the mouse up/down (avoid red zones!)
- Additionally, you can try using the top left menu:
Music Settings > Equalizer > Music Enhance
- Additionally, you can try using the top left menu:
- Save the new movie:
Share > File- Resolution:
720p 60 - Quality:
High - Compress:
Faster
- Resolution:
Results: For a 10 mins video, that gives me a .mp4 file of ~250M
Upload to YouTube and off you go ;-)
1.2 Adding backgrounds
I often use Hydra to create interesting backgrounds, and then overlay them on the livecoding video.
- Launch Hydra and pick some visuals you like
- Save as local movie file (eg
.movusing QuickTime and 'screen capture') - Import into iMovie
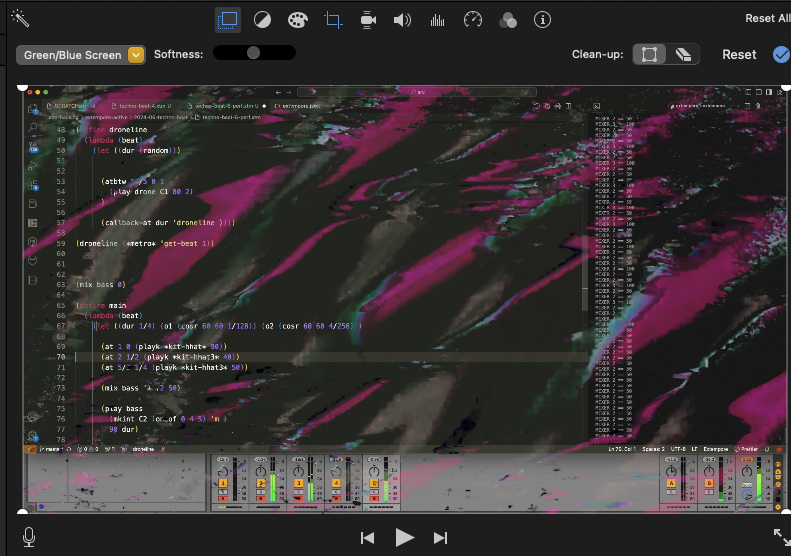
You can easily add video overlay effects in iMovie on a iOS device. In particular the Green/Blue Screen effect can be handy:
Green/Blue Screen: Adds the clip so that during playback, the clip appears with the green-screen or blue-screen parts of the clip removed, and the remaining parts of the clip are superimposed on the main clip in the timeline.
First menu on the left:
